What are products?
Products are the deliverables you'll be sending to your backers, whether it's individual items (physical or digital) that they've pledged for, or items you're offering as add-ons. While your pledge levels (configurations) outline what items backers are pledging for, products are actual representations of those items. This is important for a couple of reasons:
- Your backers will see these individual items in their survey, their shopping cart, and confirmations (both in the survey and in their email).
- You will be able to export these individual products for fulfillment, along with product options (such as color or size), quantities, and SKUs.
Setting up products
If you have a lot of different products, the first step you'll probably want to take is making a list of all the products you'll need to add to the system. Most of the time, you'll want to consider making an individual product for each item you've listed in each reward level (such as individual stretch goals). You could bundle, say, stretch goals all into one single product, but it's important that the backer understands what they're getting in each reward level (and this will reduce the number of support emails you receive with questions about what they're getting).
Once you're sure about what you're adding, go ahead and click on Products in the sidebar menu, which will open up the Products listing. Of course, when you first open this listing, there will be no products added, so let's start making one by clicking on the green Add Product + button on the upper right corner of the page.
Product Type
The first step in creating a new product is to choose the type of product you want to create.
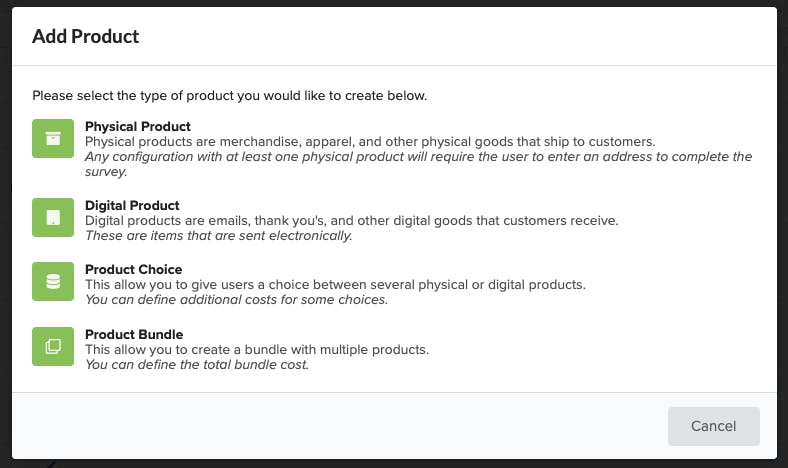
- Physical Product. This product is merchandise, apparel, or any other physical product that will be shipped to backers. Any configurations with physical products will require the backer to enter a physical address to complete the survey. These can have variations, such as color or size.
- Digital Product. These are emails, software keys, redemption codes, or other files which backers can receive as part of a reward. These are sent electronically, even by us if you'd like! (Reach out to us at [email protected] for more information on this.) These can also have variations.
- Product Choice. This is a special kind of product that allows a backer to choose between two other products - even if they're of different types (such as physical and digital). If you need to define one product as having an additional cost than the other choice, this is the way to go.
- Product Bundle. This is a special kind of product that allows you to combine several products (skus) into one bundle product to be sold as an extra. The product bundle does not have a separate sku, each product sku will export individually.
Once you've defined the type of your product, it's time to start fleshing it out.
Product: Basic Info

The first section of the Add Products page is Basic Info. This includes:
- Product name
- Description
- Image (see image requirements here)
- SKU
- Pricing & Limitations (as Extras)
Product name and description
This is likely pretty self-explanatory, but this is where you'll give a name and description for your product. If using a product bundle type, list the included products in the description section.
Image
Here is where you can upload images for your product. Product image dimensions should be square (otherwise your image will be truncated), and not larger than 500 KB in file size (larger images will take longer to load for many of your backers). Add a primary image and you'll find the option to add additional images directly below.
SKU
If you're not in the know, SKU is an acronym for "Stock-Keeping Unit," and you may or may not have these already. SKUs are a way to keep track of inventory via codes that you or your fulfillment center assign. If you don't have these, or even if you plan to have them in the future, don't worry. You can change these at any time before you begin your fulfillment exports. If you enter nothing, your SKU will be auto-generated based on the product name. SKUs will also apply to variations (more on that in a bit).
Pricing & purchase limitations (as Extras)
If you're also selling this product as an Extra, these fields will allow you to set a price for the product when sold individually (and not as part of a reward level), as well as set limits on the amounts of inventory you have available, or the amount a single backer can purchase.
Variations
In the next section of the Product creation screen, you can set variations for the product you are creating, such as a size or color (for instance, for a T-Shirt, or watch band), as well as upload photos of those variations, and even set individual SKUs for each variant or combination of variants.
You can have three separate Variants per product.

Set up variants
Click on Variations to open the Variations pane. Here you can start by clicking the green Add Variantbutton on the top right of the pane. You'll be asked to create a Variant Name (such as Size), as well as Values (such as Medium and Large). If you need to add more than two values, just click the green Add Value button to continue adding new values.
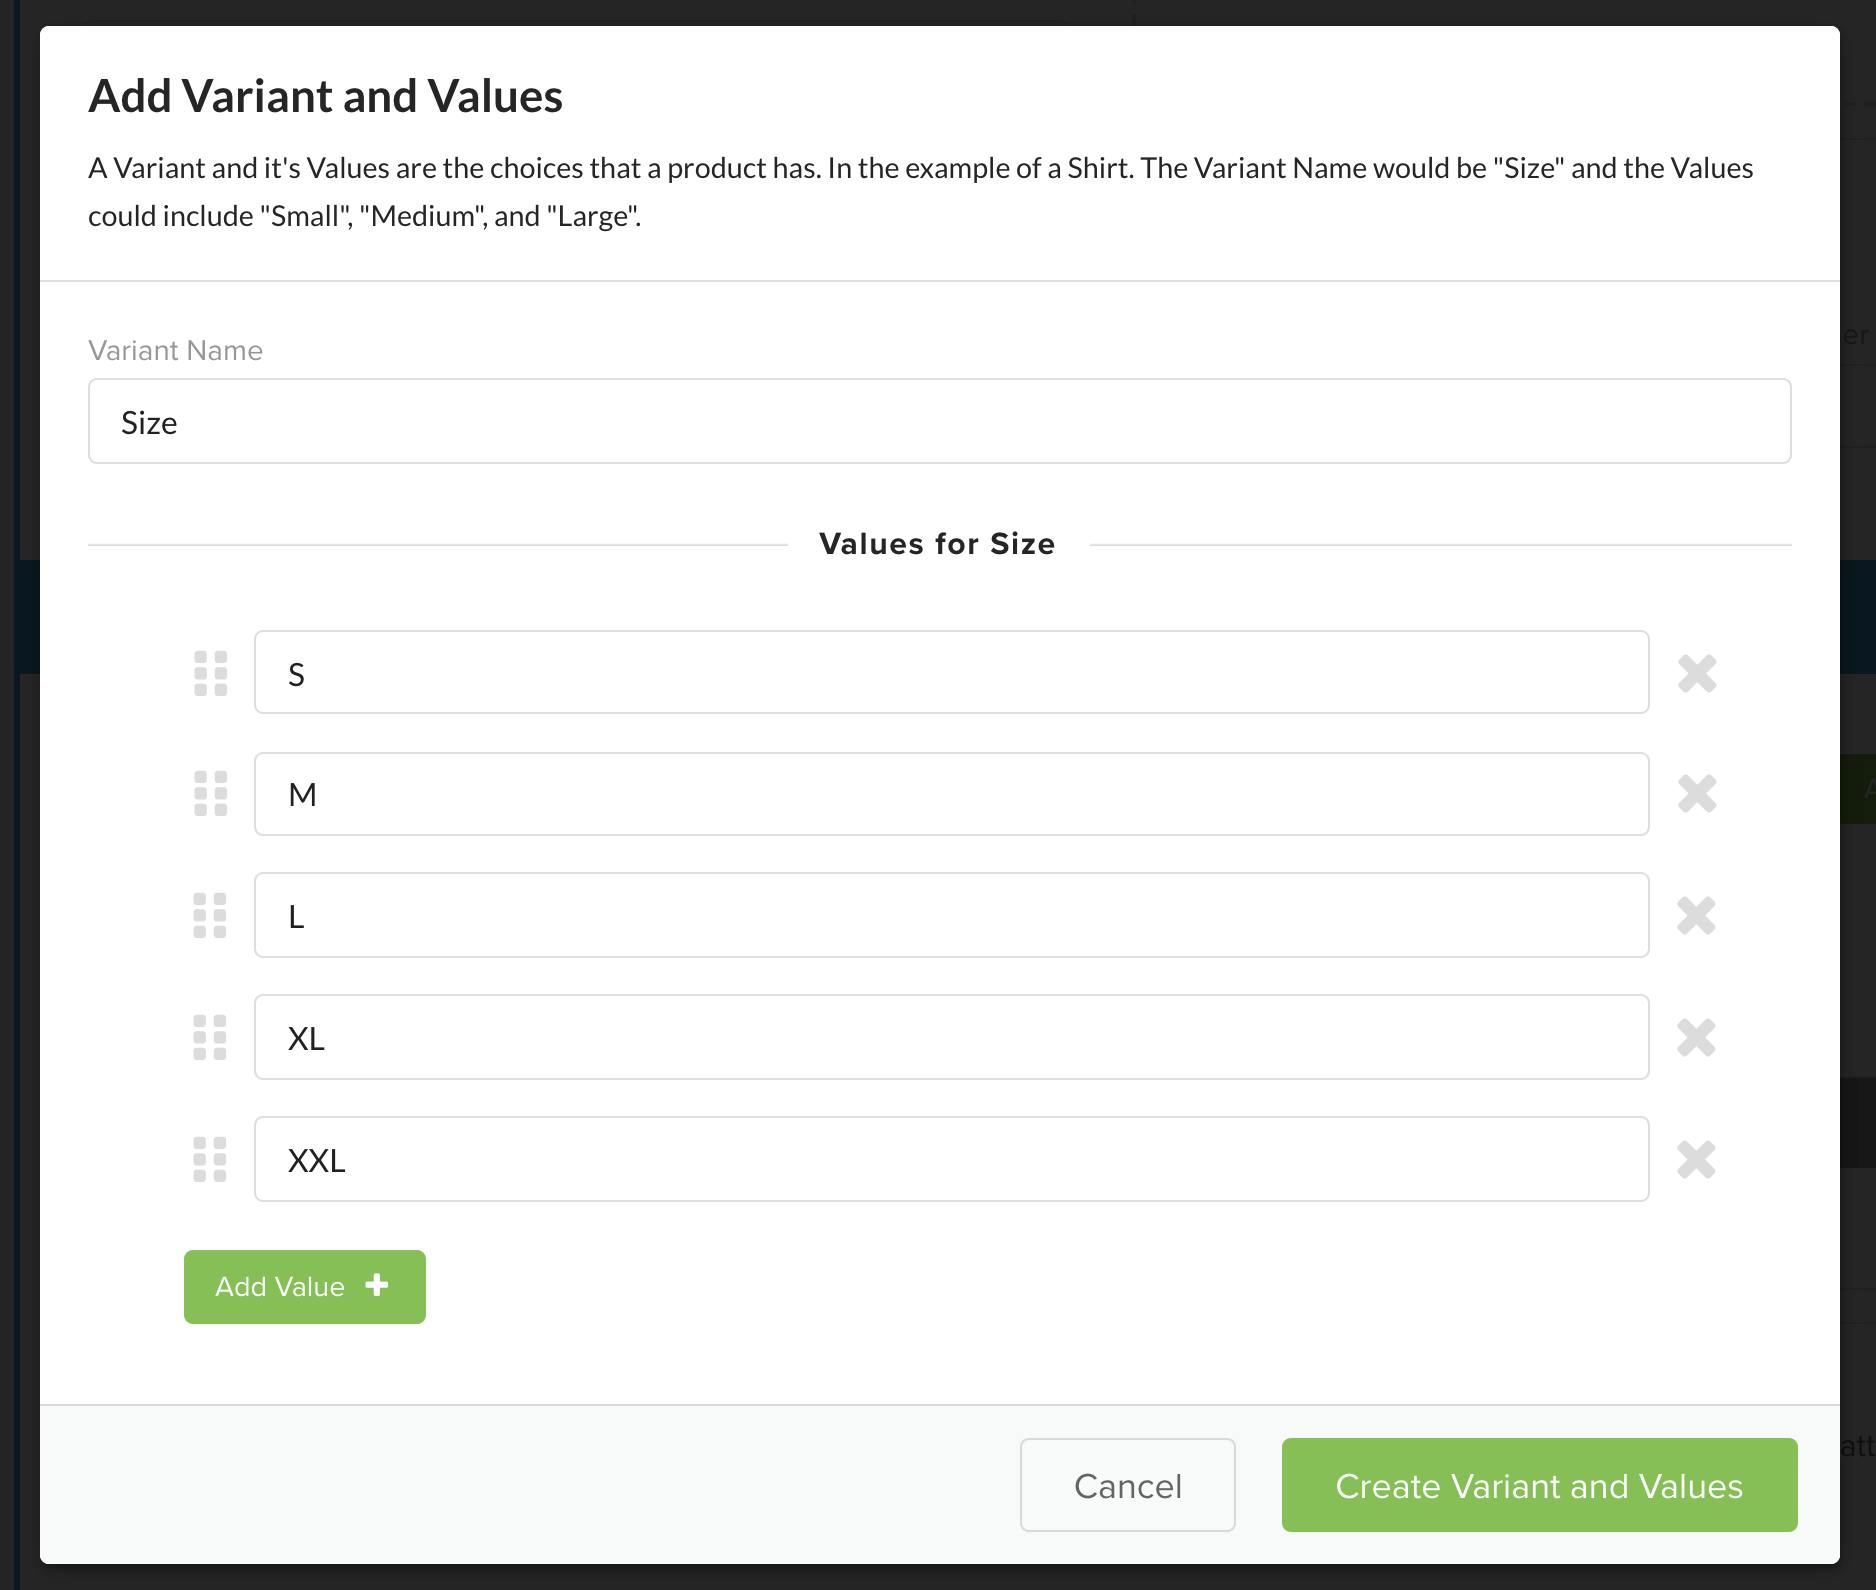
Once you have created all the values for this variant, go ahead and click the green Create Variant and Values button.
You can also add images and SKUs in the Variation combinations listed. To upload an image, drag an image on to the camera icon, or click the camera icon and then choose a photo to upload. There are also SKU fields, where you can change each SKU for each variation.
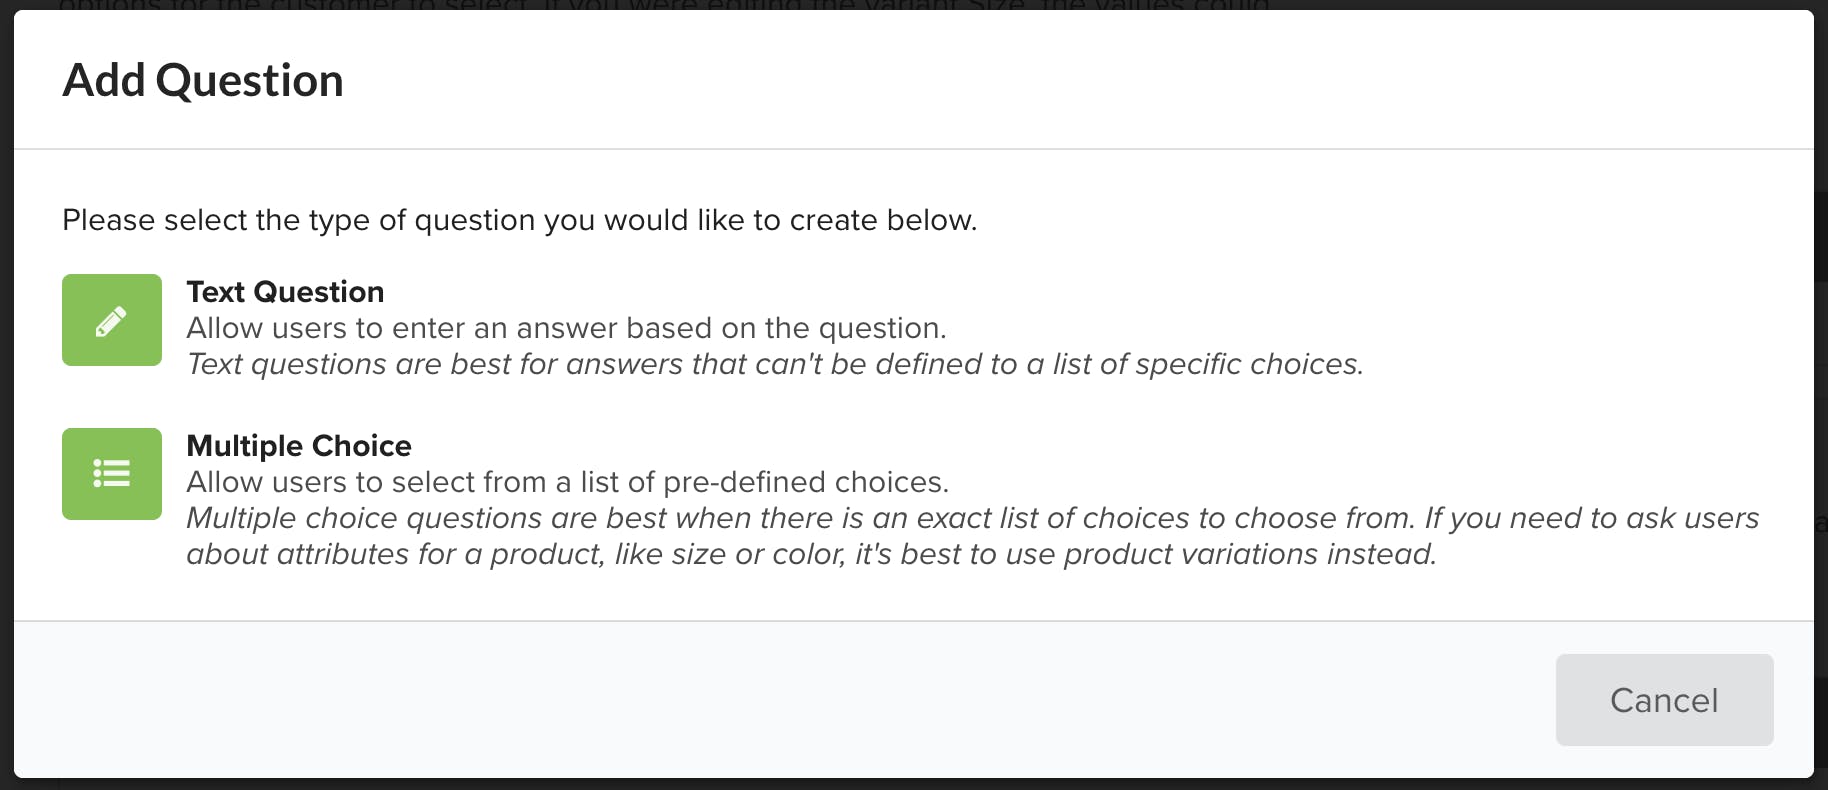
Questions
If your backers need to provide information instrumental to their product (such as engravings or embroidery), here is the place to ask your question. Note: If you have marketing questions, this is not where they go - but not to fret! That's in the next chapter.
Shipping
If you plan to offer this product as an add-on, you can also set additional shipping costs for each item. These shipping costs will be added to the shipping cost of the backer's reward level, and you can add shipping costs for all the same countries and zones as your Reward Levels offered.
To add shipping costs for the product, just click the Shipping link under Variations. By default, the product's shipping will be set to Shipping isn't involved, but if shipping is involved, go ahead and click that dropdown to change it to Ships Everywhere. Now you can click on All Countries, and add some shipping costs by clicking the green Add button.
This will bring up the Shipping Zones dialog, which allows you to select whole zones or individual countries in zones, and assign a price to all of them at once. This is convenient if many countries will have the same rates.

That's it! You've now created a product. This is one building block of your survey down. Once you've created all of your products, and have them just the way you like them, let's move on to the next step: Marketing Questions. (If you won't be asking any marketing questions, you can skip ahead to learn how to map your products to reward levels.)