Tags are an easy way to mark orders when a standard method of tracking the orders does not already exist. Once a tag is created, you can use the "Tag" filter to find the marked orders. Click here for more information on using filters.
How to Create a Tag
1) Click Orders.
Found on the left menu.
Select "Tags", the submenu below "Orders".

2) Add Tag
Here you can add a new Tag by clicking the green "Add Tag" button in the upper right hand corner.

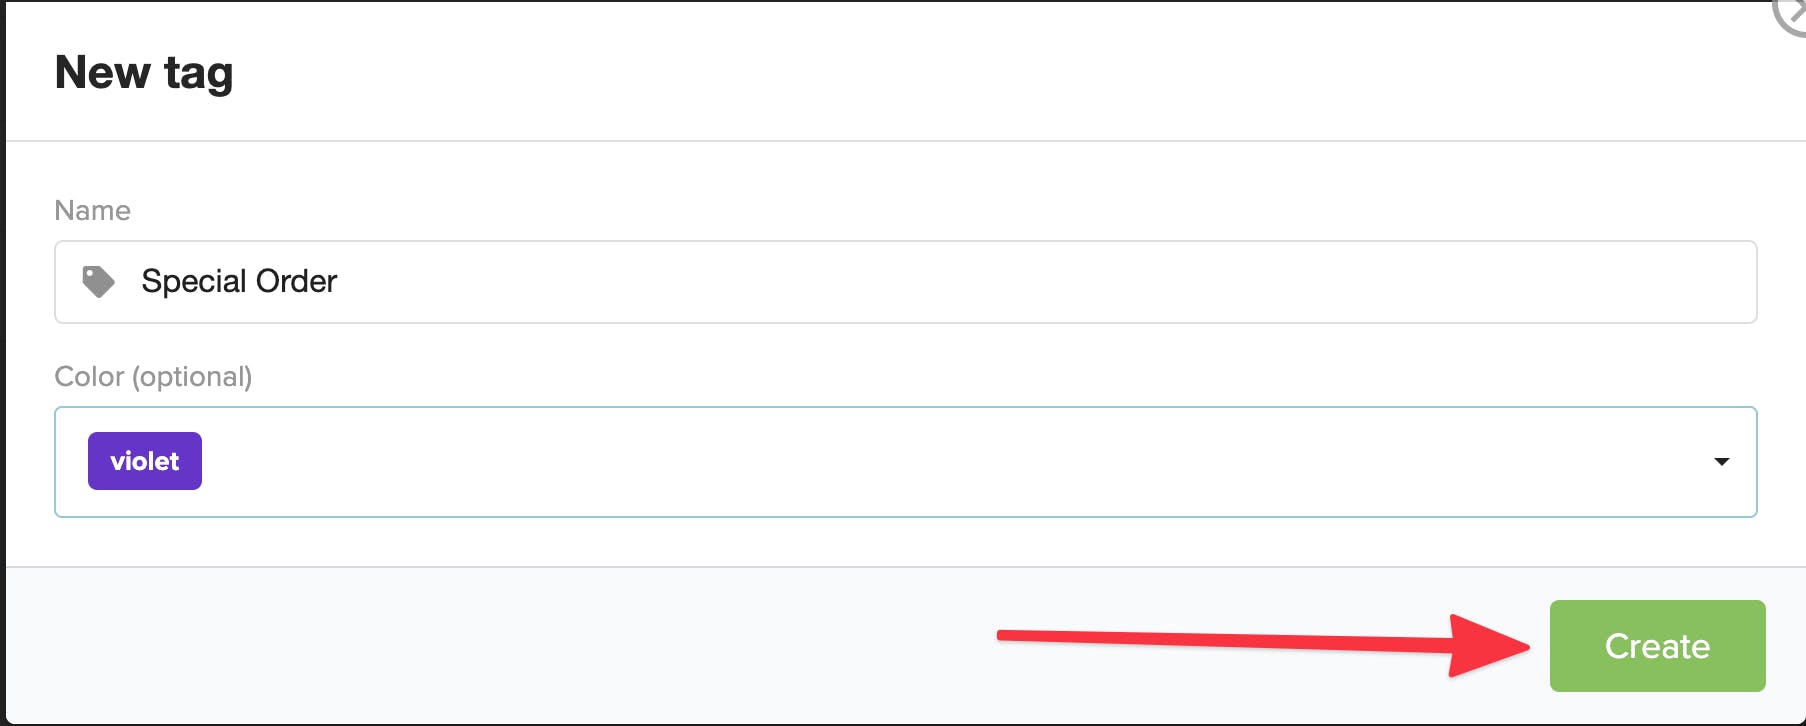
3) Create Tag
The final step of creating a tag is choosing a name and the color, then you can click "Create".
How to Apply a Tag
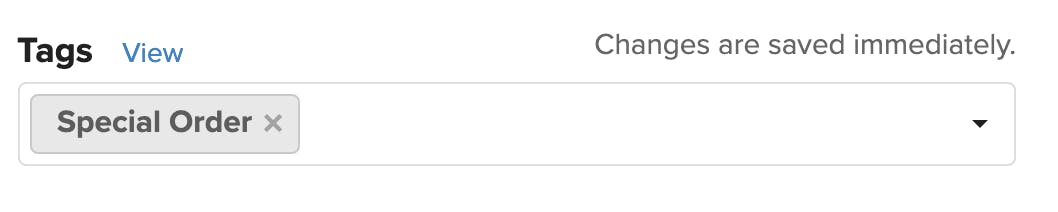
Return to the main "Orders" section. Click into an order you would like to mark with the newly created tag. Below the Address Info on the right hand side of the Order Details page, you and add the tag.

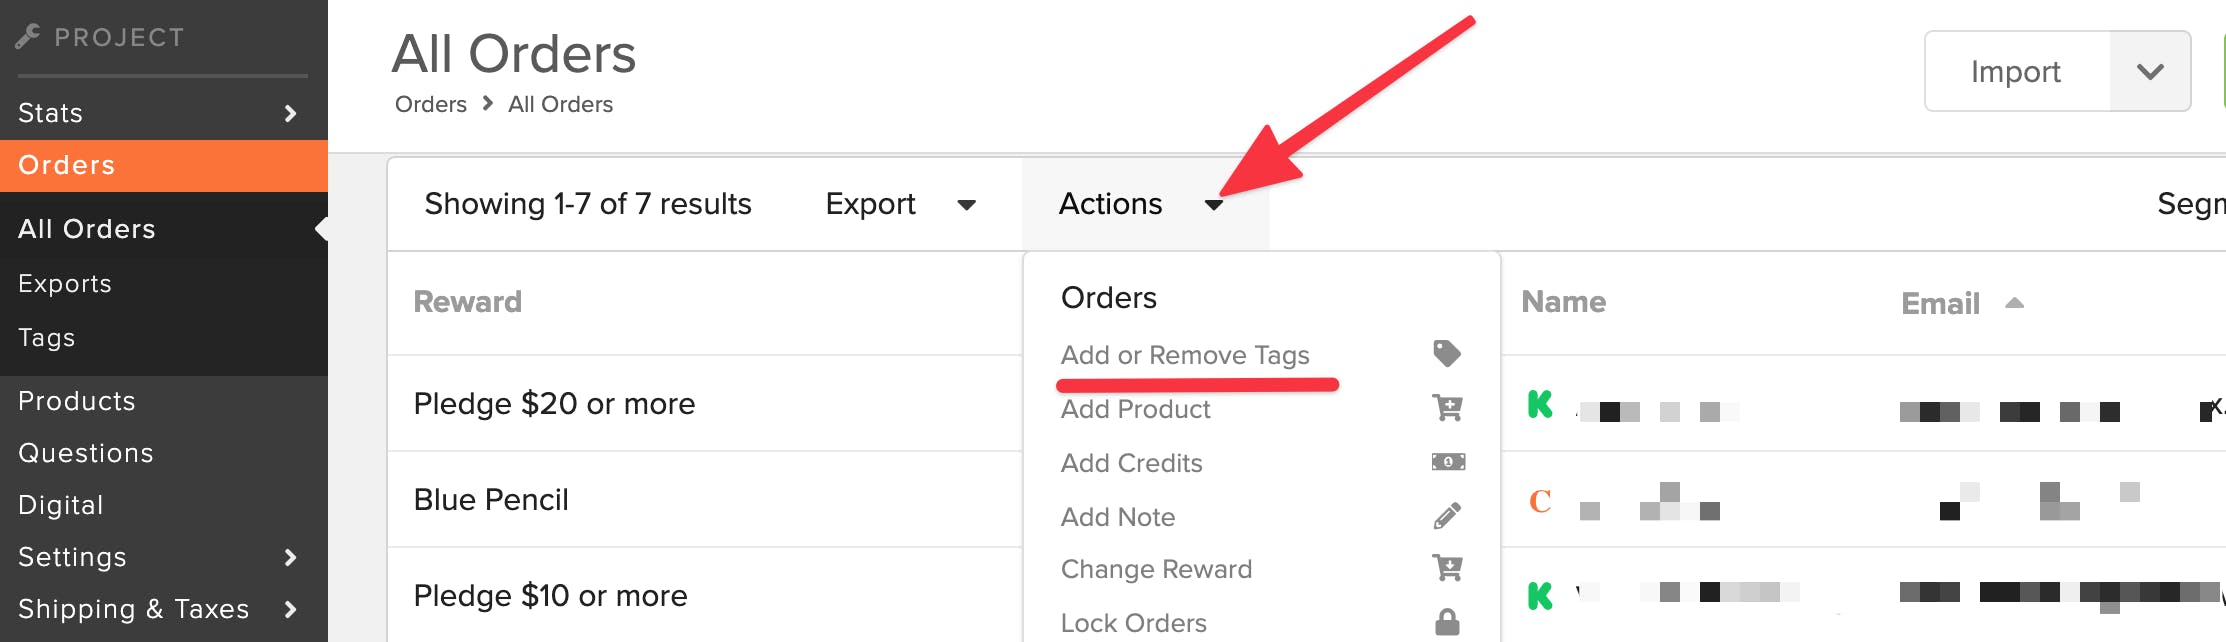
How to apply a Tag to multiple orders
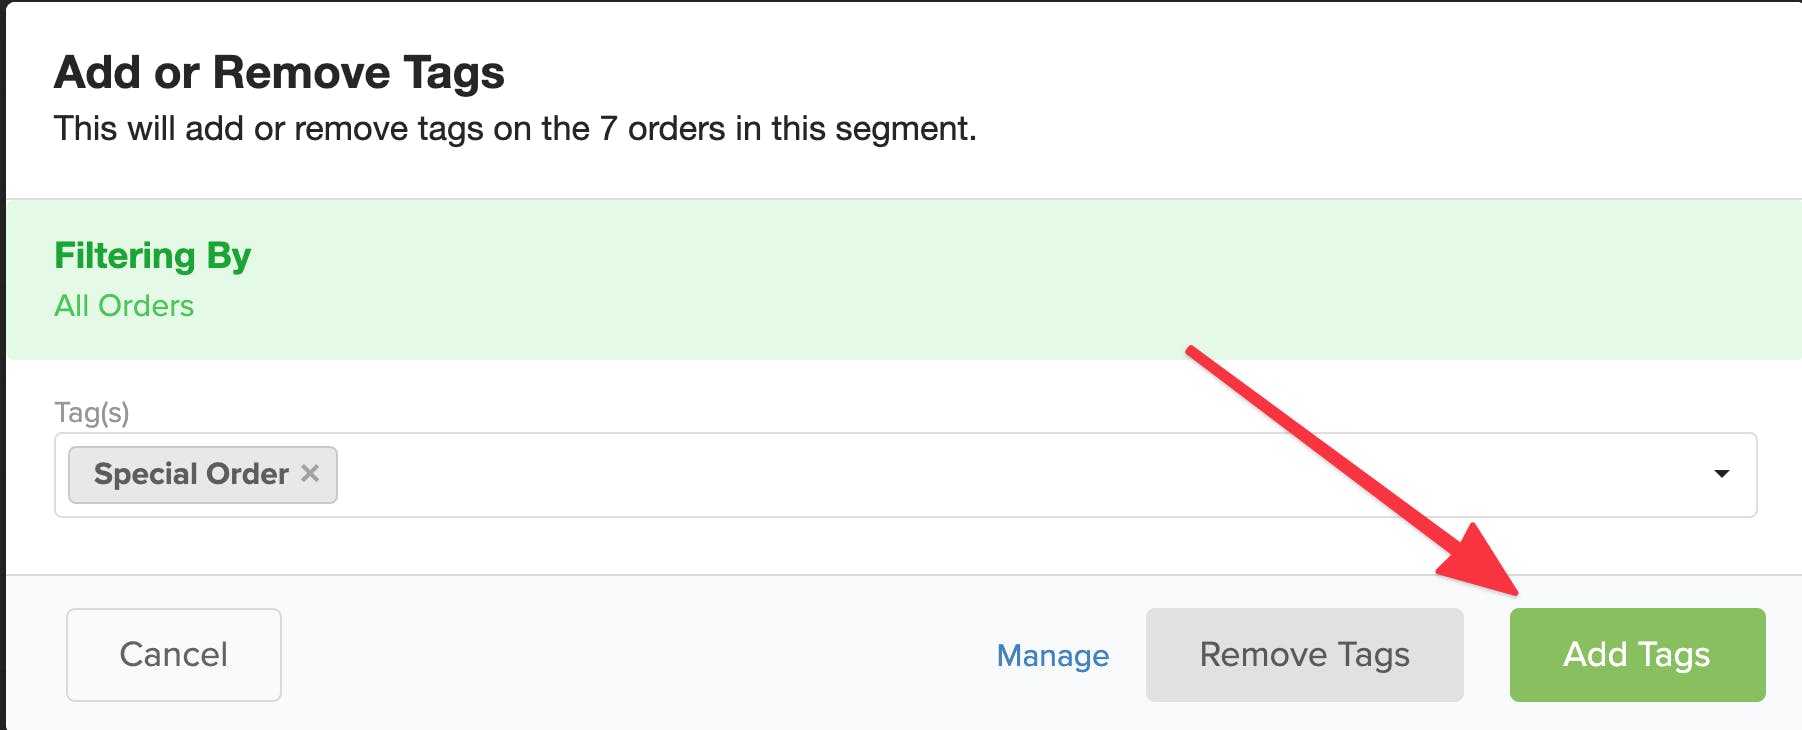
You can also apply a tag to more than one order at a time using Bulk Actions. You can use filters to sort through orders or go to a segment of orders you would like to tag, and select "Add or Remove Tags" from the Actions drop down menu.