Bulk actions are a great way to apply an action/change to multiple orders at once. The 'Add Credits' bulk action allows you to add credits of the same amount to each of the listed orders. When the credits are going to be for a different amount, depending on the backer, the best thing to do is to import the credits to the backers orders. Below you'll find steps on how to import backer credits as a bulk action.
How to import backer credits:
1) Access your orders.
Select "Orders" from the left menu to view your orders. Narrow down the orders using filters if needed. If you've created segments, you can load them and use bulk actions. Click here for help with loading saved segments.

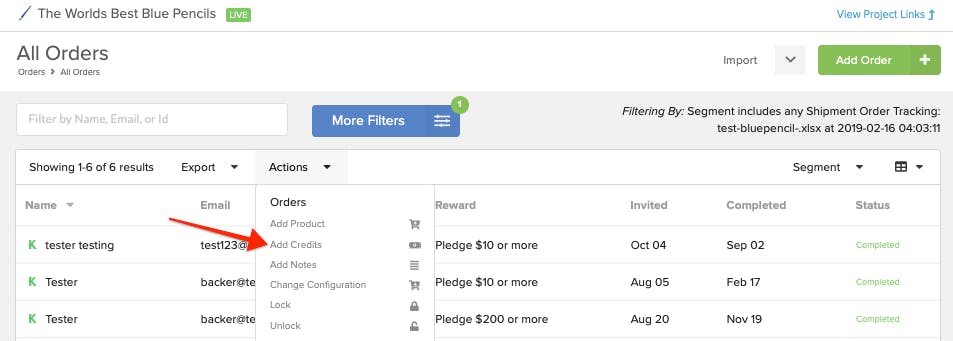
2) Click "Actions".
Drop-down loaded on the top menu bar.

3) Select the action.
Select "Add Credits" from the Actions drop-down menu.
4) Select 'Import from File'.
Click the blue link found at the bottom of the pop-up window. Only enter an amount on the screen below if the credit amount is the same for all of the orders in this list. If each order gets a different credit amount, click the blue 'Import from File' link at the bottom.

5) Prepare the CSV file.
The csv spreadsheet needs to contain 2 columns of data; the first column "Order ID" (123456) and the second column "Amount" in USD ($10). It is important to title the columns exactly as they are listed, variations of the exact text may cause the file to be rejected. If the Order ID (digits only) isn't available, you can use the "Order Number" (CrowdOx-123456) or the "Email" ([email protected]). You can also add a 3rd column with notes about the credit if needed, these notes are internal only and not visible to backers.

6) Upload the CSV file.
Upload the csv by clicking the blue "Upload and Preview" button in the bottom right corner.

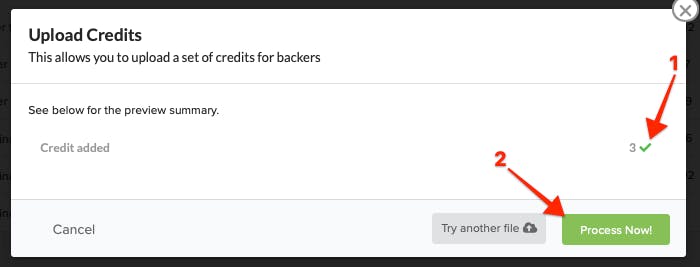
7) Process.
1. You should see a green checkmark next to the number of orders included in your import. A green checkmark means all of the orders could be located. 2. To continue click "Process Now" in the bottom right corner.
If you see a red 'x' located next to a number of orders, those are orders that could not be located. Click on the number to expand and see which lines on the spreadsheet are impacted. If you've used email addresses to identify the orders, check to make sure that the backer didn't update their email address after the orders imported. Also confirm that the backer doesn't have two pledges under one email. Click "Try Another File" to attempt again after making the necessary adjustments.
8) Close.
Once the credits have been added to the orders, click the close button in the bottom right corner.

9) Check the orders.
Double check a few of the orders to be sure that the credits added correctly. You can confirm the credit in the transaction section of the order page. It'll be reflected with an orange "C".
